Declutter Kitchen Without Organizers: 9 Brilliant Free Methods
Disclosure: As an Amazon Associate, I earn from qualifying purchases. This post may contain affiliate links, which means I may earn a small commission at no extra cost to you. I only recommend products I genuinely think could help you create a cozier home.
How to use this guide: Recommendations describe product types and buying considerations, not hands-on tests of a specific model. Search links show matching options in Australia and the US. Check the seller’s dimensions, materials, instructions and current pricing before buying. See our editorial approach.
The fastest way to declutter kitchen spaces isn’t buying another set of matching containers or a clever drawer divider—it’s removing things. Most cluttered kitchens don’t have a storage problem; they have an editing problem. You’re storing broken whisks, duplicate spatulas, three nearly-empty bottles of the same vinegar, and that bread maker from 2019 that’s never made bread.
This kitchen declutter guide walks you through a complete reset using nothing you don’t already own. No shopping required. Just honest decisions about what actually earns space in your home.
At a Glance: Declutter Your Kitchen Without Spending
- The real problem: Too much stuff, not too little storage
- Time needed: 2-4 hours for a full kitchen edit (or 20 minutes per zone)
- The one rule: Touch every single item and make a decision—no maybes
- Hidden storage gold: Your existing drawers, cabinets, and vertical space
- Biggest wins: Clear countertops and a functional cooking zone
Why Editing Beats Organising Every Time
Organising clutter just creates neater clutter. The linen-lined baskets and matching canisters look lovely on Pinterest, but they’re treating symptoms rather than the actual disease. A truly functional kitchen has fewer things, not better-arranged things.
Here’s the uncomfortable truth: most kitchen organising products exist to help you keep items you don’t actually use. That tiered spice shelf accommodates 47 spices when you regularly cook with maybe 12. The utensil crock holds 15 tools when you reach for the same four every time.
Before you edit kitchen stuff, you need to accept one principle: empty space is not wasted space. A clear countertop isn’t incomplete—it’s functional. A half-empty drawer isn’t inefficient—it’s accessible.
Step 1: The Complete Counter Clear
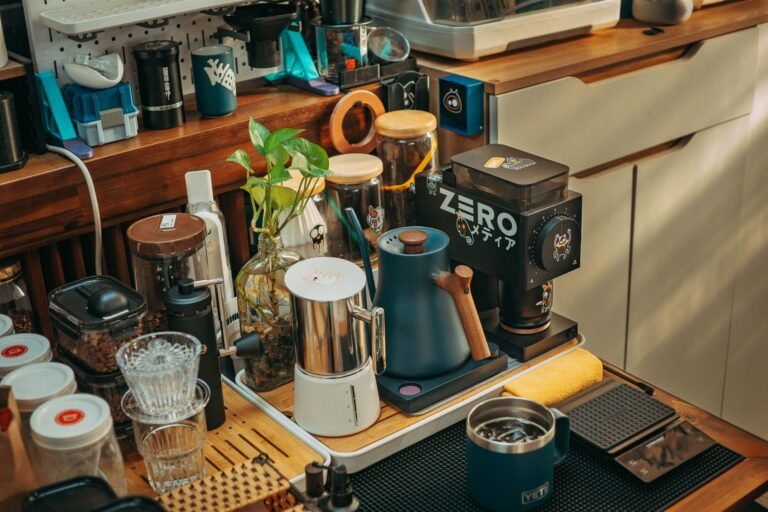
Remove absolutely everything from your countertops. Every toaster, every fruit bowl, every decorative olive oil bottle. Put it all on your kitchen table or floor.
Now live with those bare counters for 24 hours. Cook a meal. Make coffee. Pack lunches. As you work, notice what you actually reach for—and have to retrieve from the table.
After one day, only return items that meet ALL three criteria:
- You use it daily (not weekly, not “often”—daily)
- It’s too heavy or awkward to store in a cabinet
- You genuinely enjoy looking at it
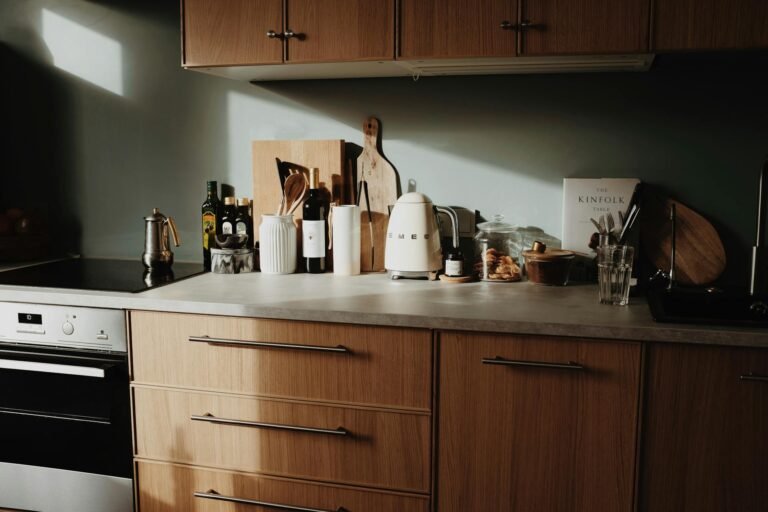
For most people, this leaves maybe four items: kettle, toaster, a cutting board, perhaps a coffee maker. Everything else gets cabinet homes or gets donated. To minimise countertop clutter permanently, this daily-use rule is non-negotiable.
Step 2: The Drawer Dump Method
Choose your most chaotic drawer—probably the utensil drawer or the dreaded junk drawer. Empty it completely onto a towel.
Sort everything into four piles:
- Use weekly: Goes back in the front of the drawer
- Use monthly: Goes in the back or a less accessible drawer
- Haven’t touched in 6+ months: Probably goes away
- Broken, duplicate, or mystery items: Definitely goes away
That bundle of rubber bands from produce? Gone. The three identical wooden spoons? Keep one. The melon baller from a gift set? Be honest about whether you’ve ever actually balled a melon.
Once sorted, arrange weekly items toward the front. No dividers needed—just intentional placement. The Good Housekeeping kitchen organisation guide confirms what professional organisers know: accessible beats beautiful every time.
Step 3: Edit Kitchen Cabinets Zone by Zone
Don’t tackle all cabinets at once—you’ll burn out halfway through. Instead, work in functional zones:
The Cooking Zone (Stovetop Area)
Keep only what you use while actively cooking: your go-to pot, pan, spatula, wooden spoon, oils, salt. Everything else migrates elsewhere or leaves the house.
The Food Storage Zone
Match every container to a lid. Right now. Any orphan pieces get recycled immediately. You’ll probably lose half your collection—and gain twice the usable space.
The Baking Zone (If You Actually Bake)
Be ruthless here. If you baked twice last year, you don’t need eight cookie sheets, a bundt pan collection, and three rolling pins. Keep basics; donate the speciality items to someone who’ll use them.
Step 4: The Pantry Edit (No Containers Required)
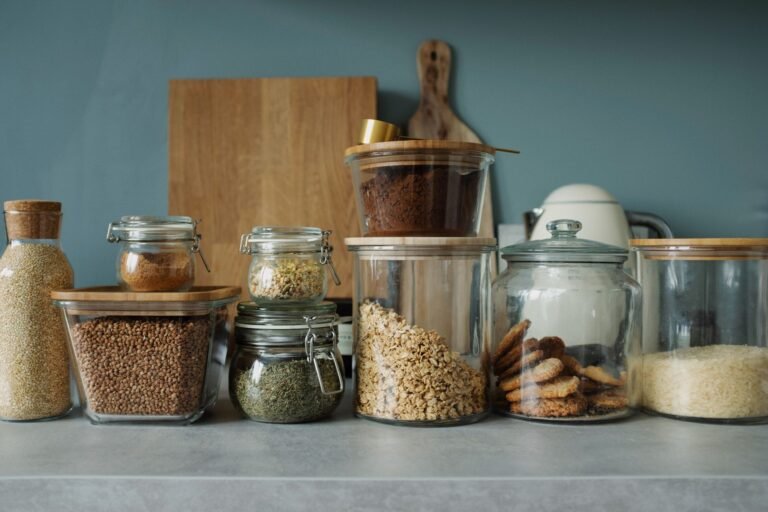
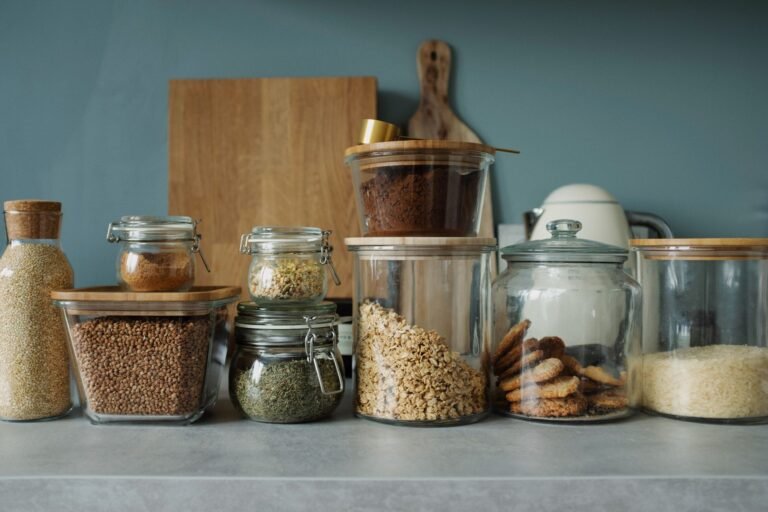
A clear pantry doesn’t need matching canisters. It needs editing.
Remove everything. Check every single expiration date. (I recently found curry paste from 2021 in mine. It happens to everyone.) According to FoodSafety.gov guidelines, most pantry staples have shorter shelf lives than we assume—especially spices, which lose potency within 1-3 years.
Group what remains by category: grains, canned goods, snacks, baking supplies. Put frequently used items at eye level. Less-used items go higher or lower. The most used shelf should be the easiest to reach.
You don’t need fancy risers or labels to start. Simple grouping creates visual order without spending a penny.
Step 5: The Appliance Audit
Small appliances multiply quietly. Suddenly you own a rice cooker, instant pot, slow cooker, air fryer, food processor, blender, immersion blender, stand mixer, and bread maker—for a household of two.
Ask yourself honestly: in the past three months, which of these have you actually plugged in? Most families use 2-3 appliances regularly and own 8-10.
Keep what you use monthly. Everything else either gets a deep-storage spot (high cabinet, garage) or gets rehomed. That waffle maker you use twice a year doesn’t deserve prime kitchen real estate.
Step 6: Minimise Dish Quantity
Here’s the radical suggestion: reduce your dishes to what fits in one dishwasher load.
Most households own far more plates, bowls, and glasses than they need between washes. If your dishwasher holds eight place settings, why own twenty? The extras just create cabinet chaos and enable dirty dish pile-ups.
Pack away the excess. Store it for hosting. Or donate it entirely—guests can use paper plates.
Step 7: The Fridge Reset
Cluttered kitchens usually mean cluttered fridges. Apply the same principles:
- Remove everything
- Wipe shelves (while they’re empty anyway)
- Check dates on every condiment, sauce, and questionable leftover
- Return only items you’ll actually consume this week
Group similar items together. Dairy on one shelf. Produce in drawers. Condiments on the door. No fancy systems—just intentional grouping.
The goal is seeing everything at a glance. When you can see it, you use it. When it’s buried behind three expired mustards, you forget it exists and buy another.
Step 8: Create Homes, Not Just Spots
Every item that survives your edit needs a dedicated home—a specific spot where it always lives.
This matters more than any organiser. When the colander has a home, it returns there after every use. When it just gets shoved somewhere, drawers become chaotic within days.
Walk through your newly edited kitchen. Assign homes based on frequency and function:
- Daily items: Easiest-to-reach spots
- Weekly items: Convenient but not prime locations
- Occasional items: High shelves, back corners, deep cabinets
Document it if needed. A simple note inside a cabinet door reminds everyone where things belong.
Step 9: The One-In-One-Out Rule
Maintenance matters more than the initial purge. From now on: nothing enters your kitchen without something leaving.
New mug? Old mug goes. Exciting new spice? Finish or toss an old one first. Kitchen gadget gift? Honestly evaluate before it even enters your drawers.
This rule prevents future re-clutter without requiring ongoing effort. It becomes automatic after a few weeks.
When You Might Actually Want Organisers
After—and only after—you’ve completed this full edit, you might identify genuine needs that organisers solve. If you’ve truly minimised and still struggle with specific storage challenges, targeted tools can help.
#1 Best Drawer Solution for Post-Declutter Organisation: Drawer Organiser Insert
Best for: Edited utensil drawers that need zones | Why we picked it: Adjustable compartments fit your actual remaining items
Once you’ve reduced your utensil collection to the essentials, an adjustable drawer insert helps maintain order. The key word is adjustable—rigid dividers force you to fit the organiser’s vision rather than your actual needs. Look for bamboo or expandable plastic versions that adapt to your drawer dimensions.
- ✓ Prevents the inevitable utensil migration and tangling
- ✓ Adjustable compartments accommodate exactly what you kept
- ✓ Creates visual zones that make the one-in-one-out rule easier
- ✗ Only worth buying after you’ve genuinely edited down
Bottom line: Ideal for maintaining an already-decluttered drawer rather than hiding ongoing clutter. Check the retailer for current pricing; for quality bamboo versions.
Browse matching options on Amazon AU · Browse matching options on Amazon US
#2 Best Corner Solution for Deep Cabinet Access: Lazy Susan Turntable
Best for: Organising pantry shelves and fridge corners | Why we picked it: Makes forgotten corner items visible and accessible
After clearing out expired condiments and duplicate oils, a turntable keeps the survivors accessible. Particularly useful for deep corner cabinets or fridge doors where items disappear and multiply. Spins bring back-corner items to the front without knocking over everything else.
- ✓ Eliminates the “out of sight, out of mind” problem
- ✓ Works in fridges, pantries, and under-sink cabinets
- ✓ Makes edited collections genuinely functional, not just fewer
- ✗ Takes up slightly more footprint than flat storage
Bottom line: Worth considering after you’ve reduced your condiment collection to items you actually use. Check the retailer for current pricing; for durable versions that spin smoothly under weight.
Browse matching options on Amazon AU · Browse matching options on Amazon US
#3 Best Utensil Upgrade for Streamlined Cooking: Silicone Utensil Set (6 Piece)
Best for: Home cooks who want non-scratch cookware-friendly tools | Why we picked it: Replaces a drawer full of mismatched tools with one cohesive set
Sometimes the declutter solution is replacement, not removal. If your drawer contains seven mismatched spatulas of varying quality, a single coordinated set solves the problem permanently. Heat-resistant silicone works on non-stick pans without scratching, and the matching colours create instant visual calm.
- ✓ Six tools that genuinely cover daily cooking needs
- ✓ Dishwasher safe eliminates “hand wash only” excuses for pile-ups
- ✓ Heat-resistant to 480°F for safe use on hot pans
- ✗ May require donating functional but mismatched existing tools
Bottom line: A practical option for anyone whose utensil drawer looks like a yard sale. Check the retailer for current pricing; for quality silicone that won’t melt or stain.
Browse matching options on Amazon AU · Browse matching options on Amazon US
#4 Best Maintenance Tool for Ongoing Organisation: Label Maker with Tape
Best for: Labelling pantry containers, drawers, and storage bins | Why we picked it: Makes assigned “homes” stick permanently
Labels turn temporary organisation into permanent systems. Once every shelf, bin, and container has a clear label, items return to their homes automatically—and other household members can maintain the system without asking where things go. A small investment that protects all your decluttering work.
- ✓ Multiple font options let you match your aesthetic
- ✓ Battery-powered portability for labelling anywhere
- ✓ Makes the “one-in-one-out” rule visually obvious
- ✗ Tape refills add ongoing cost if you label extensively
Bottom line: Worth considering if you share a kitchen with others or find yourself re-organising the same spaces repeatedly. Check the retailer for current pricing; for models with enough font variety to look intentional.
Browse matching options on Amazon AU · Browse matching options on Amazon US
#5 Best Vertical Space Solution for Edited Pantries: Pantry Shelf Riser
Best for: Maximising vertical space on deep pantry shelves | Why we picked it: Creates visibility without requiring new furniture
After editing your pantry down to items you actually use, a simple shelf riser doubles your visible storage on deep shelves. Shorter items sit underneath while taller items occupy the riser—everything visible at a glance. Particularly useful for canned goods and spices where identical containers hide behind each other.
- ✓ Instant doubling of usable shelf space
- ✓ Wire or bamboo versions suit different aesthetic preferences
- ✓ Stackable for even deeper shelves or cabinet heights
- ✗ Only genuinely helpful after you’ve reduced total pantry volume
Bottom line: A practical addition for deep shelves where cans and jars disappear behind each other. Check the retailer for current pricing; for sturdy versions that hold weight without wobbling.
Browse matching options on Amazon AU · Browse matching options on Amazon US
| Product | Best For | Key Feature | Ideal Room | Check Price |
|---|---|---|---|---|
| Drawer Organiser Insert | Edited utensil drawers | Adjustable compartments | Kitchen | Browse matching options on Amazon AU · Browse matching options on Amazon US |
| Lazy Susan Turntable | Deep corner cabinets | 360° rotation access | Kitchen/Pantry | Browse matching options on Amazon AU · Browse matching options on Amazon US |
| Silicone Utensil Set | Replacing mismatched tools | Heat-resistant, non-scratch | Kitchen | Browse matching options on Amazon AU · Browse matching options on Amazon US |
| Label Maker with Tape | Shared kitchens | Multiple font options | Kitchen/Pantry | Browse matching options on Amazon AU · Browse matching options on Amazon US |
| Pantry Shelf Riser | Deep pantry shelves | Doubles visible storage | Pantry | Browse matching options on Amazon AU · Browse matching options on Amazon US |
Frequently Asked Questions
How do I declutter my kitchen when I don’t know where to start?
Start with your countertops—remove everything and live with bare surfaces for 24 hours. Only return items you reached for during that time. This immediate visual win creates momentum for tackling drawers and cabinets. The counter clear is the fastest path to motivation because results are instantly visible.
What kitchen items should I get rid of first?
Duplicates, broken items, and anything expired should leave immediately. Then target unitaskers—gadgets that do only one specific thing (avocado slicers, egg separators, banana hangers). Most people also discover they own far more glasses, mugs, and food storage containers than they actually use between dishwasher loads.
How long does it take to fully declutter a kitchen?
A complete kitchen edit takes 2-4 hours for most homes when done in one session. However, working in 20-minute zones (one drawer, one cabinet section, one counter area) spread across several days often proves more sustainable. The key is making actual decisions during that time, not just shuffling items around.
How do I keep my kitchen counters permanently clear?
Apply the daily-use rule strictly: only items used every single day earn counter space. Store everything else in cabinets, even if it’s slightly less convenient. The visual calm of clear counters usually outweighs the two extra seconds of opening a cabinet door for your toaster.
What’s the best way to organise kitchen drawers without buying dividers?
After editing contents down to essentials, simply arrange items by frequency—daily-use tools at the front, monthly-use items at the back. Group similar items together (all spatulas in one zone, all measuring tools in another). This intentional placement creates order without any physical dividers needed.
How do I declutter a pantry with deep shelves?
Remove everything, check all expiration dates, and group items by category when returning them. Place frequently used items at eye level. For deep shelves specifically, position items in single rows rather than stacking—you lose some capacity but gain full visibility, which prevents forgotten items and duplicate purchases.
Should I buy matching containers for my pantry?
Only after you’ve finished editing. Most people buy containers prematurely and end up organising items they should have discarded. Complete your pantry purge first, live with the results for a week, and only then consider containers for items you genuinely struggle to store or find consistently.
How do I get my family to maintain the decluttered kitchen?
Labels help significantly—when every item has a marked home, other household members can maintain the system without asking where things belong. Also involve family in the initial purge so they understand the logic behind item placement. The one-in-one-out rule, communicated clearly, prevents gradual re-accumulation.
When is the best time to buy kitchen organisers?
A decluttered kitchen feels different than an organised one. It feels calm. It feels like yours. The goal isn’t a Pinterest photo—it’s a space where you can cook without frustration, clean without gymnastics, and find what you need without excavation. Start with one drawer today. Touch every single thing. Make decisions. The clear countertops will follow.
Featured image: Photo by Cup of Couple on Pexels